Generate documentation for your model
You are now ready to modify the QuickStart notebook you used earlier and run it to generate model documentation and test result with the ValidMind Developer Framework. The resulting artifacts are then uploaded to your model documentation in the ValidMind Platform UI.
Before you begin
Steps
In the left sidebar, go to the Getting Started section of your previously registered model:1
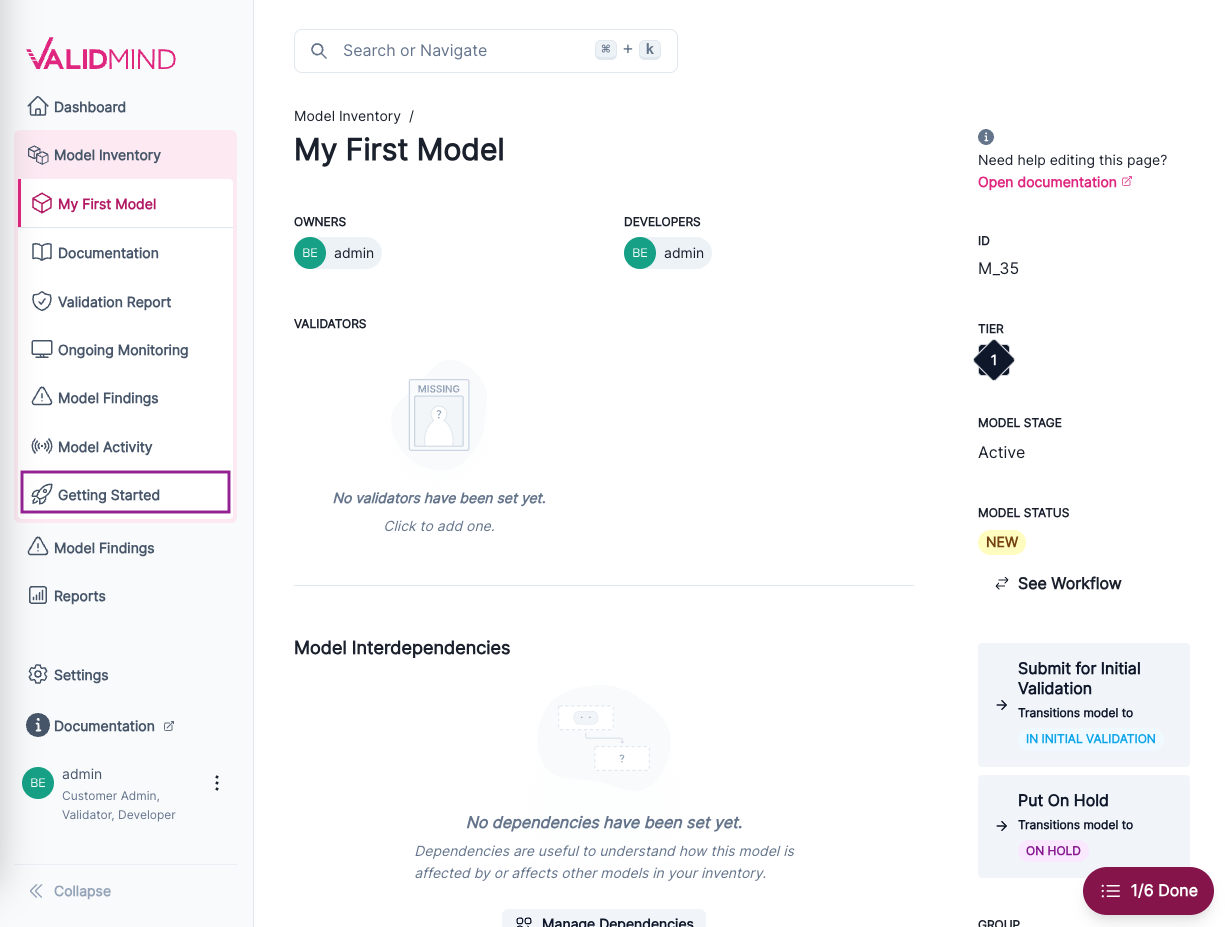
Landing page for a model with the Getting Started section highlighted in the left sidebar The page that opens provides you with a code snippet to use with the ValidMind Developer Framework, including:
api_host: The location of the ValidMind APIapi_key: The account API keyapi_secret: The account secret keymodel: The model identifier
This code snippet can be copied and pasted directly into your developer source code to integrate the developer framework, enabling it to upload to the ValidMind Platform UI.
Locate the code snippet and click Copy snippet to clipboard.
Reopen the QuickStart notebook you accessed earlier.3
In the QuickStart notebook, replace the
vm.init()lines that look like the following with your own client integration information from the earlier step when you registered your new model: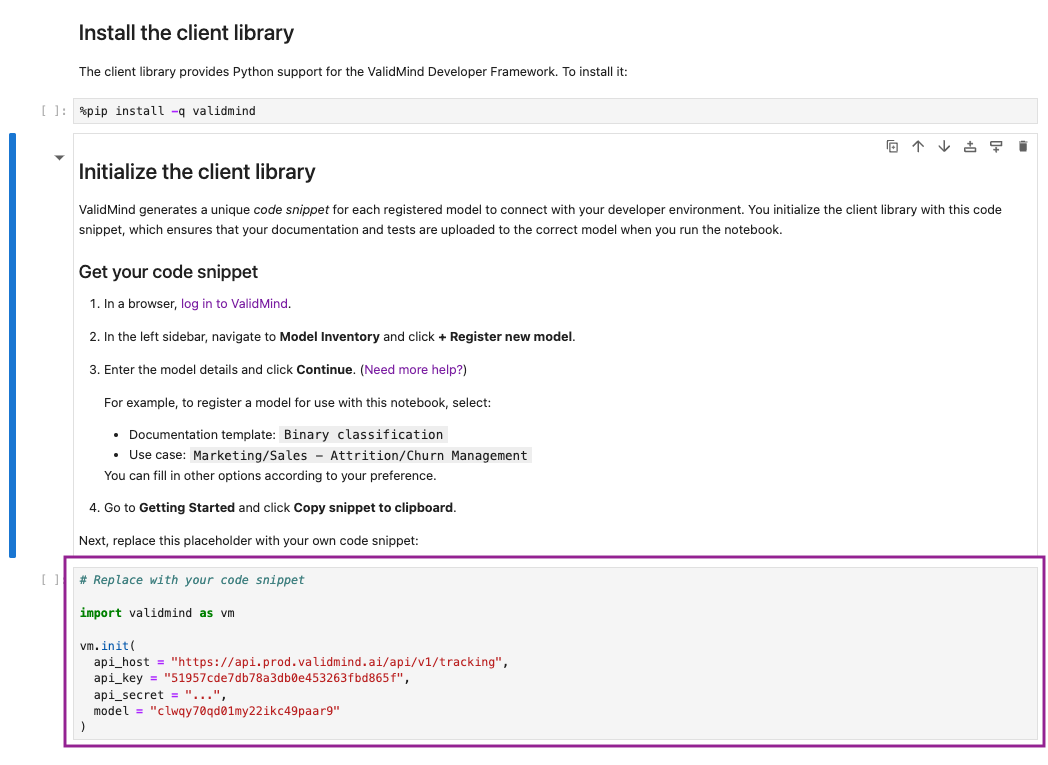
QuickStart notebook in Colab with the section to be replaced highlighted Run each cell in the notebook:
- Hover over each cell and click the icon; OR
- Press
Shift + Enteron Windows orCmd + Enterif you are on a Mac
The notebook will guide you through installing the ValidMind Developer Framework, initializing the Python environment, and finally initializing the ValidMind Client Library by connecting to the ValidMind Platform UI.
3 In JupyterHub, for example.
What’s next
You can now switch back to the platform UI to view the documentation that has been generated by the developer framework.
Ready to learn more about how you can use ValidMind? Check out Next Steps.